GroIMP's 3D user interface consists of two panels, shown below: The View panel displays the scene, the toolbar contains buttons for creating objects and selecting the current tool.
In the view panel, objects can be selected with the mouse: The object currently under the mouse is highlighted, and by clicking with the left mouse button, it becomes selected. If there is more than one object under the mouse, you can choose the object you want to select by clicking with the middle mouse button: This cycles through the list of objects under the mouse. Once an object is selected, its attributes are shown in the attribute editor where they can be modified.
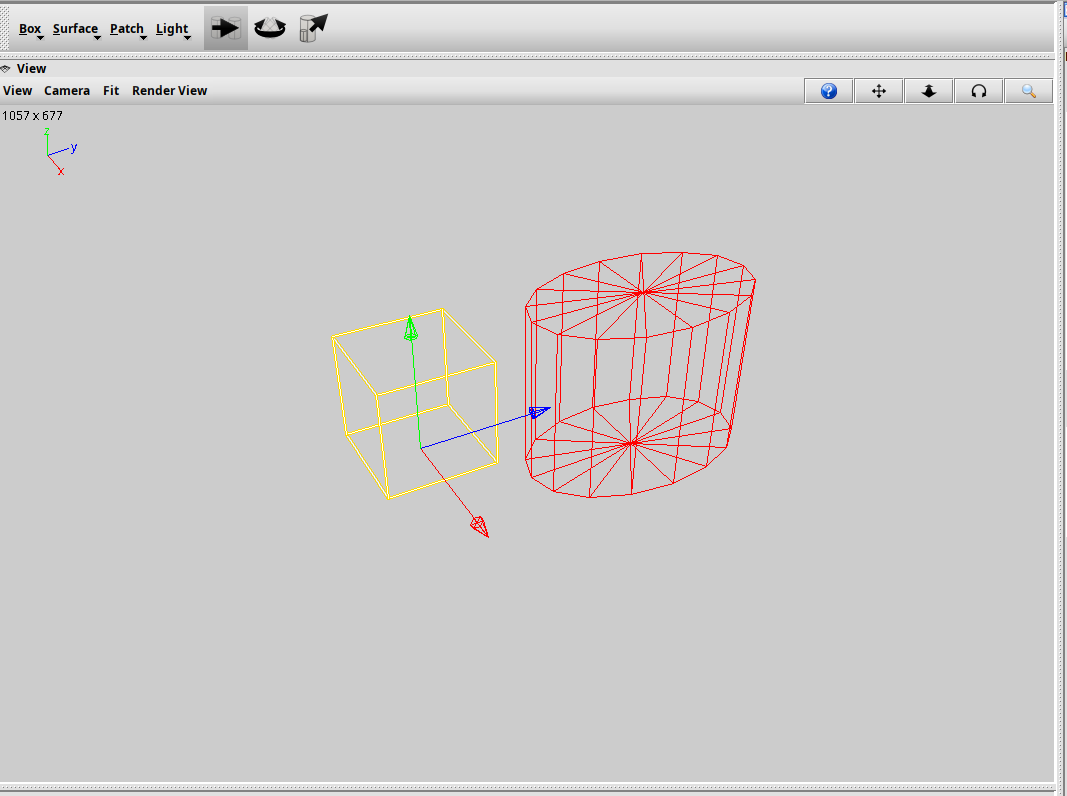
The currently selected object can also be modified by 3D tools. In the 3D Panels, you can see three arrows which are the handles for GroIMP's 3D translation tool. By dragging the arrows with the mouse, the object is moved along the arrow direction. If you use the middle mouse button for dragging, the movement is in a plane perpendicular to the arrow direction.
Another 3D tool is the rotation tool. It is activated in the toolbar by clicking on the rotation icon. As handles, it displays three circles which can be dragged to rotate the selected object.
Navigation in the view panel is possible with the navigation buttons in the view panel's upper right corner or with the mouse. To navigate using the buttons, press a button and drag with the mouse while keeping the button pressed. To navigate using the mouse only, press the Shift button and drag with the mouse over the view panel: The left mouse button rotates the view, the middle mouse button moves the viewpoint in the viewing plane, and the right mouse button makes a dolly movement along the viewing direction (or a zoom for a view camera with parallel projection). The mouse wheel works similarly to the right mouse button.
The Camera menu of GroIMP's 3D view allows the selection of different cameras. Some cameras are predefined, among them the common orthographic projections. You can add user-defined cameras to your project in the Camera Explorer (the menu item Panels/Object Explorers/3D/Cameras brings it up); these cameras can be selected as current camera in the Camera menu, too. They can be edited through the navigation facilities or in the Attribute Editor.
The Render View menu displays the installed external renderers. The POV-Ray Plugin defines an interface to the external renderer POV-Ray, a free ray-tracer, which can be used to render 3D scenes in high quality, see POV-Ray manual.